

HAVE YOU A SOLAR PANEL RECENTLY AND DON’T HAVE THE STRENGHT TO READ THE WHOLE GUIDE?
This article is only for you.
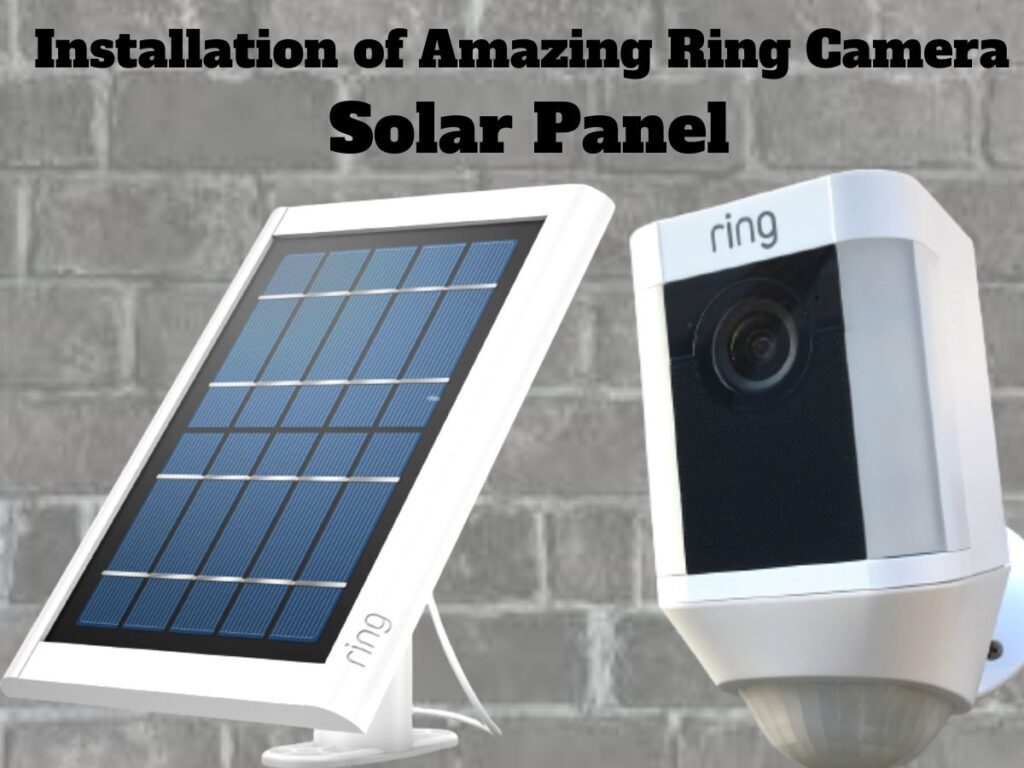
The Solar Panel
The Ring Camera Solar Panel is a compact gadget that can be installed outside and cabled to your Ring Video Doorbell. It will increase the life of your doorbell battery with just a few hours of direct sunshine every day.
There are two variants of the Ring Camera Solar Panel. The micro-USB version is compatible with the following devices:
• Video Doorbell Ring (2nd Generation)
The fork connection version is only compatible with the following devices.
• Ring Video Doorbell 2
• Ring Video Doorbell 3
• Ring Video Doorbell 3+
• Ring Video Doorbell 4.
Product Specifications and Features of the Ring Camera Solar Panel
What’s in the box?
• A solar panel.
• Wire Separator
• Anchors and mounting screws
• Cable Clamps
What are the proportions of the Ring Camera Solar Panel?
7.8 inches by 5.5 inches by 0.5 inches (19.8cm x 14cm x 1.3cm)
What are the technical specifications of the Ring Camera Solar Panel?
• 2.4W, 5VDC power supply
• Weatherproofing
• Mounting bracket is adjustable
• 20-foot power cord
The Solar Panel is particularly designed to operate with the Ring Video Doorbells listed below:
- Ring Video Doorbell (2nd Generation)
- Ring Video Doorbell 2
- Ring Video Doorbell 3
- Ring Video Doorbell 3+
- Ring Video Doorbell 4.
It is a simple process to physically install and connect your Ring Video Doorbell Solar Panel to your Video Doorbell. Please carefully follow these procedures to ensure a flawless installation.
Before installing the Ring Video Doorbell Solar Panel, you need finish the Ring Video Doorbell configuration in your Ring app. To finish the Ring app setup,
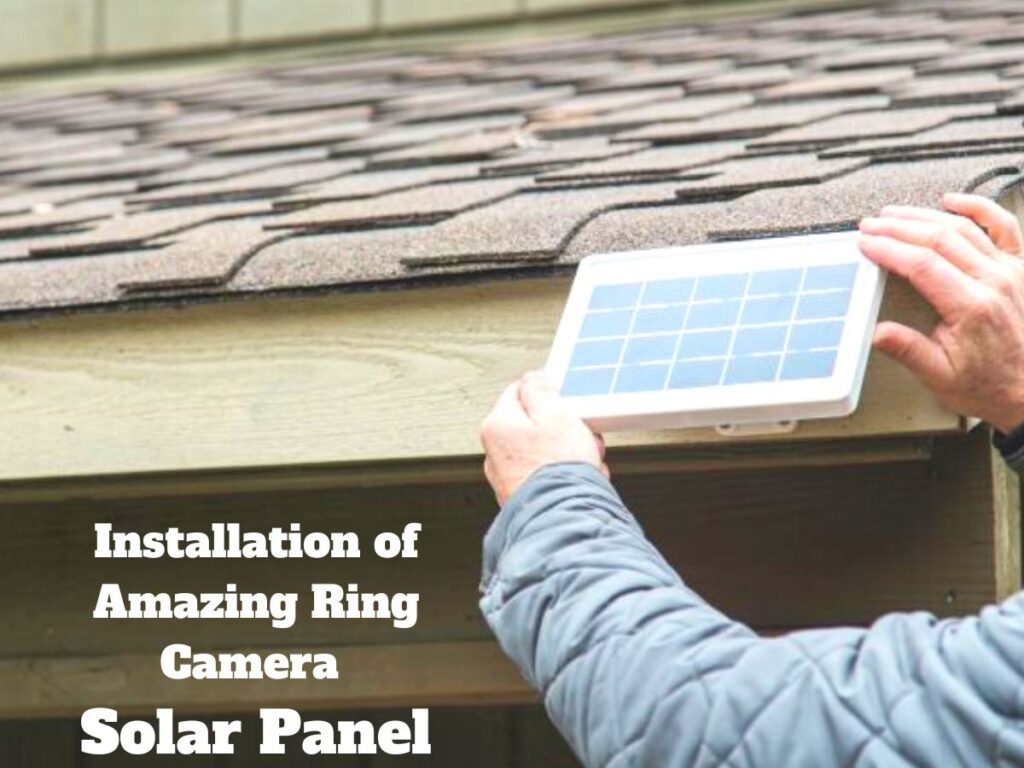
Step One: Determine the best site for your solar panel installation.
Choose a location for your Solar Panel installation that receives consistent Sun exposure every day. With just a few hours of direct sunshine every day, the Ring Video Doorbell Solar Panel may significantly increase the life of your Ring Video Doorbell battery.
Step Two: Place your Ring Video Doorbell Solar Panel in its proper position.
To properly align your Ring Video Doorbell Solar Panel, follow these steps:
• Make a template out of the mounting arm of the Solar Panel.
• Use a pencil to mark the screw holes on your selected surface.
Step Three: Drill Holes (Optional)
Optional: Drill holes where you noted the location of the mounting holes.
• Use the provided plastic anchors to secure the Ring Video Doorbell Solar Panel to masonry, concrete, or stucco.
• If you are mounting the bracket on wood or vinyl, you may need to use a hammer to get the anchors in place.
Step Four: Set the mounting arm up.
• Use the provided screws to secure the mounting arm to the wall.
• Tighten until it’s tight.
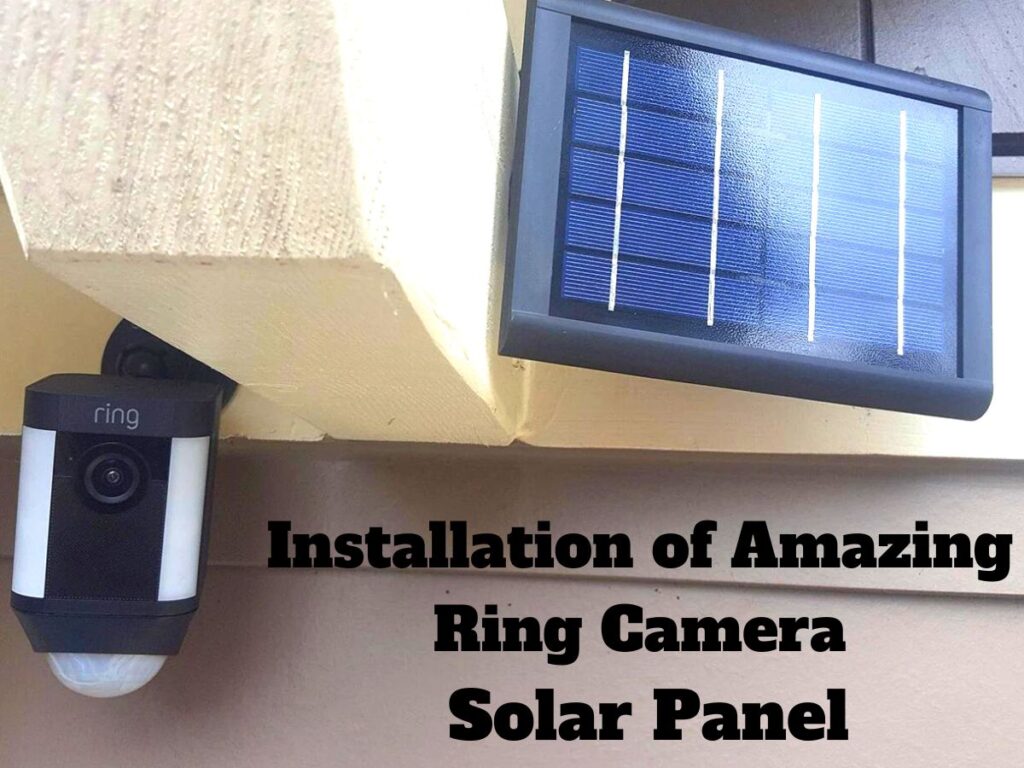
Step Five: Install the Solar Panel
Slide the solar panel into position on the mounting arm. Check that it is securely seated.
To modify the angle of the solar panel for optimal sun coverage, unscrew the adjustment screw on the mounting arm, set the appropriate angle, and then tighten the screw.
The methods below apply to the Fork Connector version of the Solar Panel for the Ring Video Doorbell 2, 3, 3+, or 4. So follow these steps carefully:
Step Six: Connect the Solar Panel plug to your Ring Doorbells and attach the Ring Video Doorbell to the wire spacer.
• Pass the free end of the fork connector cable through the wire spacer.
• Use the screwdriver to fasten the fork connector cable to the Ring Video Doorbell terminal.
Step Seven: Mount the Ring Video Doorbell and the wire spacer to the wall.
To properly align your Ring Video Doorbell, follow these steps:
• Position the Ring Doorbell around 48 inches from the ground next to your door.
• Using the level tool, level the device.
• Use a pencil to mark the locations for mounting holes.
Optional: Drill holes where you designated the location of the mounting holes using a drill.
• Insert the provided plastic anchors into the holes if you’re installing the Ring Doorbell on brick, concrete, or stucco. To get the anchors in, you may need to use a hammer.
The procedures below are for the Micro USB version of the Solar Panel for the Ring Video Doorbell (2nd Generation):
Step Eight: Connect the Solar Panel plug to the wire spacer and the Ring Video Doorbell mounting bracket.
• Place the charging cable’s free end on top of the mounting bracket, with the plug piece in the middle of the rectangular bracket.
Step Nine: Mount the Ring Video Doorbell mounting bracket and wire spacer to the wall.
• Place the Ring Doorbell close to your door, about 48 inches from the ground, to correctly align it.
• Using the level tool, level the device.
• Use a pencil to mark the locations for mounting holes.
Optional: Drill holes where you designated the location of the mounting holes using a drill.
• Insert the provided plastic anchors into the holes if you’re installing the Ring Doorbell on brick, concrete, or stucco. To get the anchors in, you may need to use a hammer.
Step Ten: Connect the Ring Video Doorbell to the bracket.
Insert the free end of the charging cord into the Ring Video Doorbell and click it into place.
Thus, you can easily complete your installation of ring camera solar panel.
RELATED ARTICLES:
