

If you’ve just purchased a Blink outdoor camera, you might be confused about how to install it or where to put it. Although these are fantastic tools, placement is crucial, so you don’t want to have to pull everything down and start over. Take a look at the directions below. You can watch the outside world from your house with the help of these sophisticated small cameras. These battery-operated, weatherproof security cameras with 1080p resolution take pictures of the outside of your home and save them locally on your cloud.
Where Should Your Blink Outdoor Camera Be Mounted?
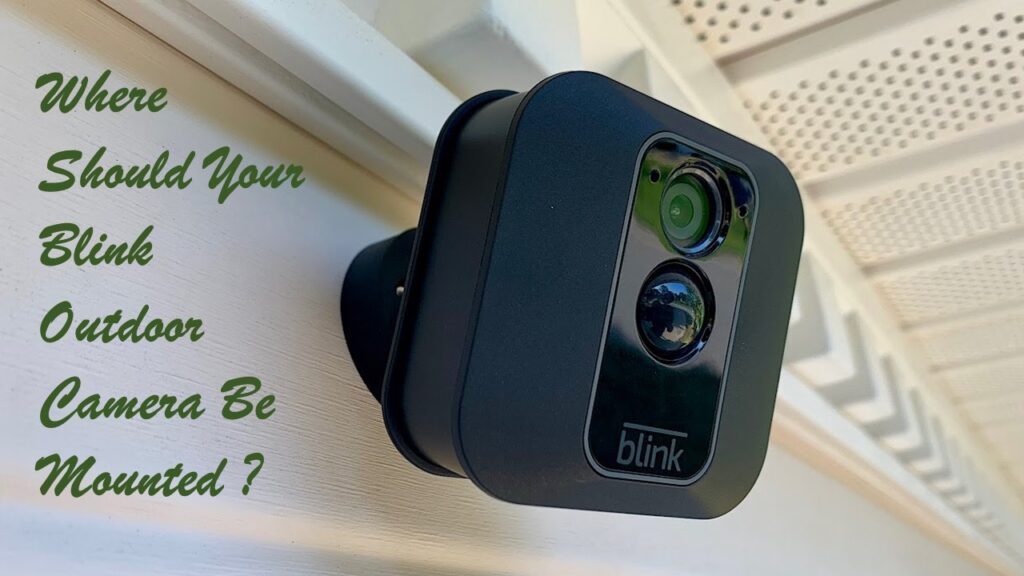
Your Blink outside camera has to be installed such that it can see all of your house’s doors and provide you with a clear image of anyone trying to open or interfere with them. Therefore, make sure your camera is pointed toward your doors to get the most out of it. Finally, where to mount completely depends on your preferences. It functions best in the following places:
1. Near doorbells
2. In the entranceway or porch
3. On gate pillars
4. In the backyard
5. On trees
6. On the roof’s gutters
7. In the carport
Along with home doors, consider garage doors and shed doors. Wonderful if you can cover each of these. If not, don’t panic; your home’s doors are probably more crucial than your garage doors.
Avoid mounting it where the camera will be exposed to a lot of headlamps or even direct sunlight glare. You’ll receive a blurry or poor-quality image.
An alternative would be to turn your camera to face your gate and fence. If you want to know who enters your property as soon as they do, this will be helpful.
False alerts from your camera shouldn’t happen too frequently since this will drain the battery and storage capacity on your cloud. Best settings for blink outdoor camera follows that you should try to keep it away from trees or plants that might cause it to go off when the wind blows.
By installing your camera in a discreet area, tucking it under the eaves of the house, or wrapping something over blink Outdoor Camera, you may further disguise your camera. Just watch out for covering the lens.
Choose How to Mount Remarkable Blink Outdoor Camera is more enticing to you. Hiding your camera can make it less visible to criminals who could take it, but blink outdoor camera set up won’t act as a deterrent.
How to Register a Blink Account
On your Android smartphone, launch the Blink app and choose “Create Account.”
Choose your “country” and then select Next.
Next, provide your email address.
Create a password now, and then choose Create Account.
A multi-factor account verification method will be required by Blink.
After the verification is complete, connect your Amazon Account to Blink.
Connecting Blink Sync Module Together
Connect the Blink Sync Module first, then follow the instructions below.
Activate the Add Devices icon from the Home Screen (plus icon).
From the Add Device screen, choose a device.
You have two options: enter the device’s serial number or scan its QR code.
Mobile device access is required for QR scanning. When asked, choose OK.
Now that you have entered content into the text entry box, you may build a new system.
Connect the Sync module, then wait until the blinking blue and steady green is displayed on the device. Reset your blink module if you can’t see the light.
Blink Wifi may be found by clicking on the Discover Device button. Join with blink outdoor camera.
To connect to the network, click Wifi and enter the password.
Your blink sync module will be correctly configured after you click Done.
Insert cameras
Best settings for blink outdoor camera listed below can be used blink outside cameras.
On the Home Screen, click the plus (+) icon at the top.
Using the QR code on the device’s rear, select the Blink Wireless camera. The serial number of the gadget can also be entered.
Once the device has been validated, the Camera Onboarding screen will appear.
When you get a pop-up stating “Camera Added Successfully,” click on Done.
Keep in mind that you must connect your Amazon account to the blink App to activate the subscription plan for blink.
Check to see if your phone is receiving a clear output from how to Mount Remarkable Blink Outdoor Camera and that blink outdoor camera mount is synchronized with the module.
How To Mount Your Blink Outdoor Cameras?
How to Mount a Blink Outdoor Camera Horizontally
Instead of utilizing a cone-shaped mount riser for ceilings or horizontal places, use the right-angle mount bracket that is simply attached to the ceiling.
By putting the Blink camera’s center inside the bracket’s circle, you may attach blink outdoor camera mount to it. Wait until you hear a click to know that it has been corrected.
How to Mount a Blink Outdoor Camera Vertically
Utilizing the mount riser to install the camera in a vertical position will offer you a higher-quality view.
This is done to provide the camera’s image of the subjects with a clearer representation.
For more specialized viewing, blink outdoor mount camera’s riser also offers the ability to pivot and modify the vertical or horizontal angle.
How to Mount a Blink Outdoor Camera Without Screws
Perhaps you don’t have a drill to insert screws or your living situation prevents you from making several holes in walls.
Whatever the circumstance, there are a few screw-free mounting options for blink outdoor camera.
Corner Mount
Corner camera mounts are a nice screw-free solution and are simple to install.
These can also be fastened with screws, but for the corner, double-sided mounting tape works best.
The Blink camera works well with double-sided mounting tape due to its small weight.
Attach the corner bracket to the tape by applying it to both sides of the corners. Keep in mind that the mount riser should not be used while mounting the camera.
Gutter Mount
A gutter mount may be used without screws to install the camera on roof gutters.
They have little screws on them to tighten the mount, and they are easily repairable. Blink outdoor camera set up can hold a thread-mounted blink camera.
How To Mount Blink Outdoor Camera To Stucco
You’re going to need anchors for stucco. Create holes that can support anchors. After drilling, carefully tap the anchors inside with a hammer.
For screws to hold both mounts together and be set on the stucco, you must first screw in the circular disk and install the riser together on the wall.
The round disk is provided to provide a little gap between the camera and the wall.
How To Mount Blink Outdoor Camera To Siding
The installation of a camera on siding is simple with siding hooks.
After installing the mount bracket on the siding hook, push the siding hook’s hook side into the siding gap and fasten it with machine screws. By pushing it in, blink outdoor camera set up fits inside the bracket.
Note: The Live View button may be clicked in the app while holding the camera in the desired position. You may then confirm that the camera has adequate signal strength and can see well.
Instead of moving toward or away from the camera, the best motion detection happens when a person travels horizontally across the field of vision. When connecting the device, keep this in mind.
Mounting Blink XT Cameras
The earlier Blink XT cameras were simple to attach. Simply insert the Mount into the camera’s battery cover’s central, rounded hole. The gray switch that is used to remove the battery cover will be able to accommodate it. However, it is currently an old model.
How to Mount the Blink XT2 Camera
The camera mounting that came with your Blink Camera XT2 is a nice illustration. Two screws and an optional mount riser are included with the Mount.
These mounts, which are made of plastic and have a ball-type joint, fit on the back nicely.
The cam has two mounting locations available. If the camera is to be positioned at a more advantageous angle, an additional spacer can be added.
The screw holes on these two attachments are symmetrical.
Making use of the two included screws, attach the mount to the spot of your choosing.
Just keep in mind that the mounting screws will leave two holes in your wall.
Attach the camera to the mount after installing the optional mount riser.
Your XT2 camera’s back should be connected to the mount’s circular part.
Simply push the button until you hear a click to install blink outdoor security cameras.
The gadget is simple to swivel and adapt to your favorite viewing angle. It appears to be more durable than the originals and is simple to remove.
All blink cameras are compatible with these mounts. Use just the included screws and any additional spacers to assemble.
Clip the camera after they are situated.
Note: Your Blink camera should not be mounted outdoors in direct sunlight. For good measure, it should be placed between 8 and 10 feet from the ground.
Mount Riser, Screws, and Other Accessories
The space between the mounting surface and the camera is widened by mount risers. As a result, when your gadget is mounted on the Mount, it may move about freely. The XT2 mounting screws are comprised of wood screws. Any sort of masonry or comparable surface must be mounted with the correct screw type. These screws shouldn’t be used to mount the XT2 to shelves, ceilings, flooring, or ceilings.
Hold the Camera and Try Live View
By holding the device where you wish to place it and selecting the corresponding symbol on the Blink app, you can see how your camera will look from different angles. This enables you to verify that your device is positioned properly and that the nearby Wi-Fi signal is strong.
When deciding where to mount anything, don’t forget to take perspective into account. The mount and riser may be used together once you’ve chosen where to mount your cam.
Combine the Mount and the Riser
Screw holes on both accessories are identical to one another. By lining up the screw holes, the Mount may be fastened to wooden surfaces. Otherwise, mark the masonry with screw holes, drill the holes, and then install the screws on hard concrete and similar surfaces.
To use the accompanying screws, don’t forget to drill or create two holes in the table, shelf, wall, or ceiling surfaces. Due to the number of screws included with the gadget, a wooden wall is preferred.
Secure the Mount at the Location
The ideal site may be acquired for the mount. Best settings for blink outdoor camera is meant to safely fasten the Blink XT2 security camera (and other cams) to the Mount because it was created for this usage.
Directly put your XT2’s center circle into the circular section of the Mount for better positioning. The right way to execute this should result in a gratifying snap.
After installing, turn the Blink XT2 for the best view.
Nighttime surveillance and LED indicator
The use of night vision mode for surveillance is not advised. To deter possible intruders, it should be used in combination with a motion-activated lighting or emergency floodlight.
The blue LED on the camera glows blue when it is recording. Some individuals keep the light on to warn visitors and guests that they are being videotaped. Others can turn off the LED if they wish the gadget, such as a surveillance camera or nanny cam, to remain hidden.
Realities and Expectations
In order to observe your backyard or home’s perimeter, outside cameras should be turned slightly and directed at the sun and the ground.
These cameras allow for live viewing (without the need to upload records), as well as the option to keep hours of recordings in the cloud (all cameras have Wi-Fi capability).
When someone walks horizontally in the field of view of a camera, rather than moving away from or toward it, the camera uses motion detection to alert the user. Blink outdoor security cameras should be positioned on the side or corner of the hallway rather than directly on the corridor to obtain such a view.
If you want to learn more then click DRD CLASSIC HOME
How to Remove a Blink Outdoor Camera Mount
If you aren’t satisfied with the placement of your camera, you should be able to easily remove it and install it somewhere by unscrewing it from the wall and drilling new holes in a different spot. If you wish to change the batteries, just pull off the bottom portion of the Blink camera.
If you want to take out the mount itself, you will need to unscrew it first. After that, you may pull the mount out.
Simply press the Blink camera a little bit from the inside and it will pop out, or you may take it out by hand if the first method doesn’t work on your particular model.
Conclusion
This BLOG has explained where and how to quickly and easily mount Blink outdoor cameras. This instruction will show you how to position your camera to get the most out of it and ensure that you capture everything that matters.
