

Have you bought Arlo Doorbell recently? Learn Arlo Doorbell Installation in 7 Easy Steps.
For Arlo Doorbell Installation, you can keep calm through the reliable security at your front door. Stay connected to your home from anywhere with real-time video and audio with the Arlo Essential Wired Video button. You can work through Amazon Alexa and Google Assistant for Arlo Doorbell
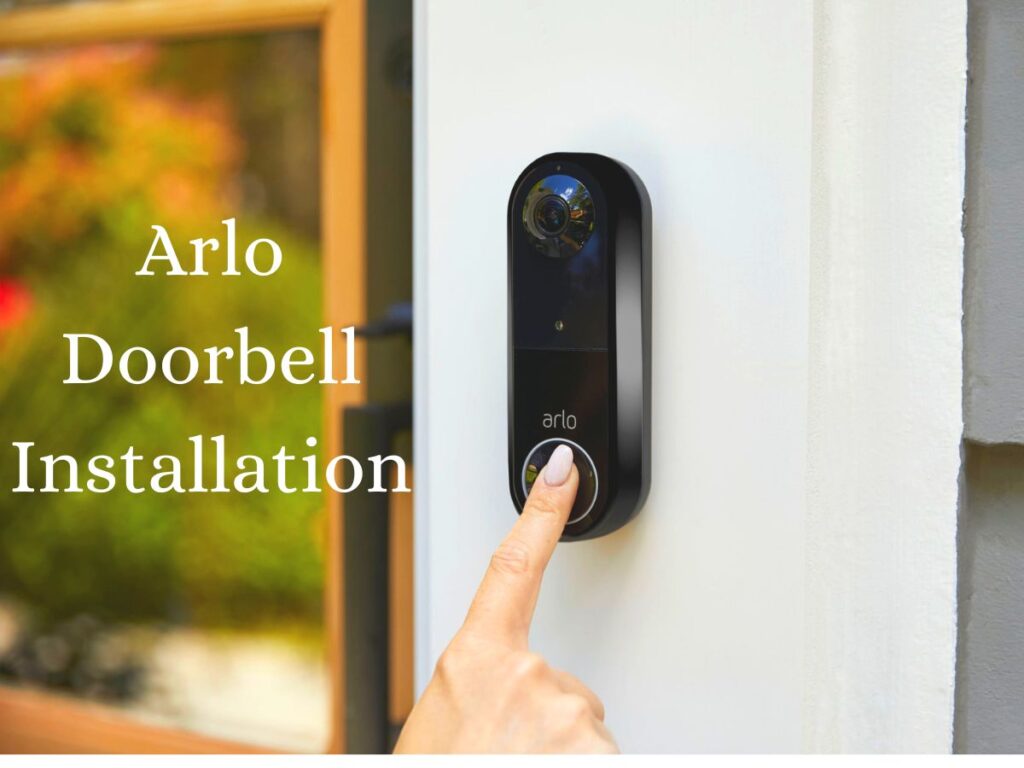
Installation:. You can see a person over the door from head to toe with the help of a 180-degree viewing angle and HDR video quality. Even at the night, you can easily watch who is at the door with night vision mode. Besides Arlo doorbell, there are more two famous brands that came up with doorbells. They are Blink and Ring Doorbell.
It ensures complete security in all weather like heat, cold, rain, or sun. To ensure you never miss a guest, receive a video call when your doorbell is touched. Additionally, if you’re unavailable to answer the door, visitors may leave a voicemail for you to listen to at a later time. Utilizing your preferred smart devices, manage your home security and get doorbell notifications.
Automatically or manually activate the built-in siren using the Arlo Secure App.You can continuously record the activity if one of your cameras has CVR turned on. The backdrop is recorded by CVR, and you may go back and see everything you missed. In addition to the recordings made in accordance with the modes and rules you choose in the Arlo app, CVR-capable cameras also continually record.
Arlo Doorbell InstallationRequirements for Arlo Doorbell Installation:
• Arlo Essential Wired Video button
• Chime with existing electrical wiring
• Arlo App
• Screwdriver
• Push-button electrical device with a power of 10 VA with a voltage from 16 to 24 V AC
• Things that were in the box
• Electric drill (optional)
Note: After purchasing the Arlo Essential wired video button in Europe, you will receive an electrical device with a button inside the package. If your current button currently does not provide 16-24 VAC, you will undoubtedly need to use an electrical device with a protected button.
These things are must for Arlo Doorbell Installation.
Before starting the setup process of Arlo Doorbell Installation:
• Make sure that the power of the switch is turned off.
• Make sure that you only have all the objects inside the “Needs” section.
• Make sure you have just downloaded the Arlo app.
• Install the Arlo power supply kit that is included in the package.
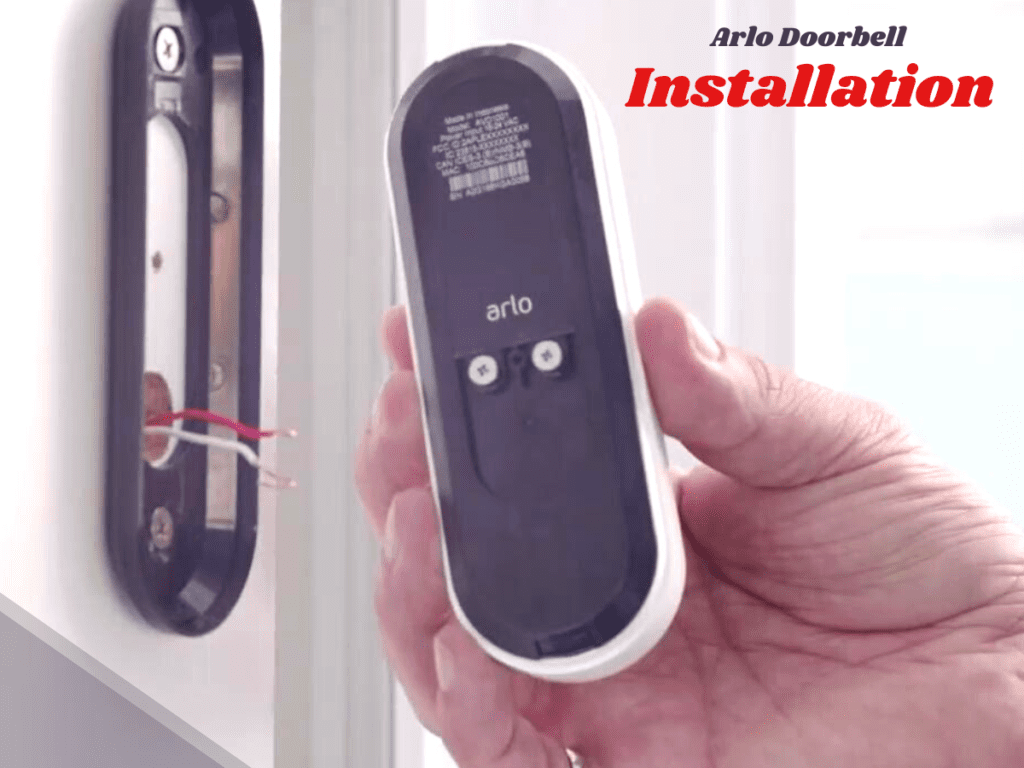
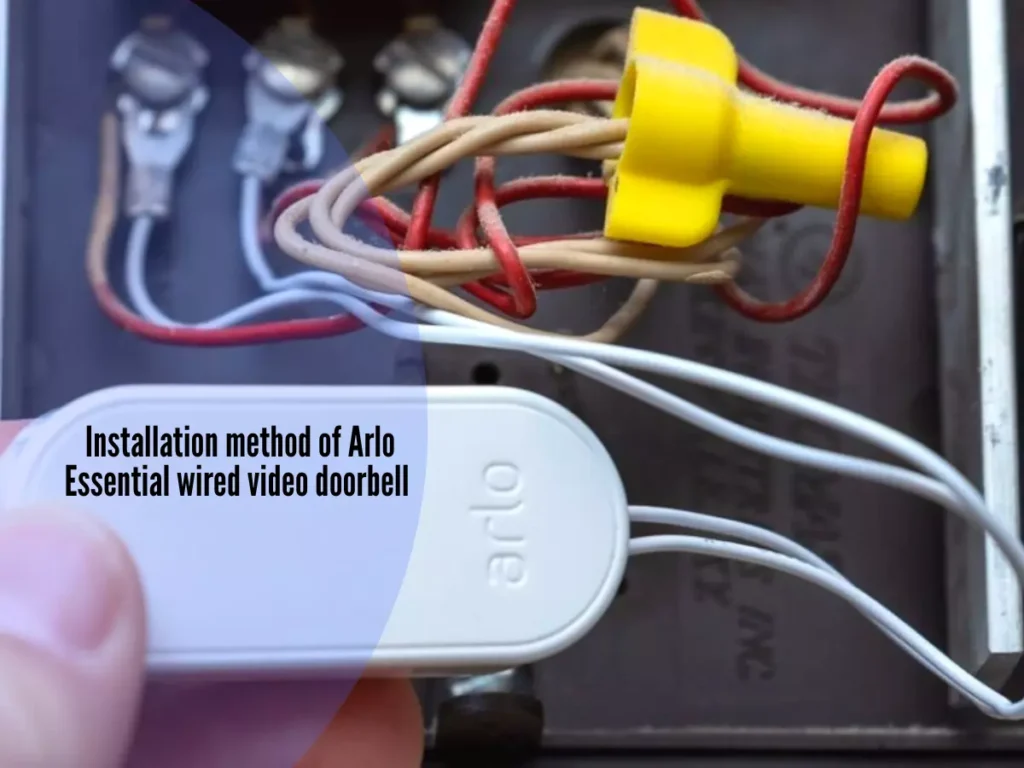
Arlo Doorbell InstallationInstallation method of Arlo Essential wired video doorbell:
Step 1: Turn off the power on the switch.
Step 2: Disable and delete the existing button.
Step 3: Determine whether to use a flat mounting plate or not or integrate it with an inclined mounting plate to control the reading level for the button. installation using an inclined mounting plate depends on the location of the button, as well as the distance to the house. The inclined mounting plate allows you for Arlo Doorbell Installation at an angle to the right or left side.
Step 4: Follow the instructions inside the Arlo app to connect the wires and find the button.
Step 5: Turn the electricity on the switch
Step 6:
I. Make sure that the semiconductor diode on the front panel of the connected Arlo Essential video button is white.
II. If the semiconductor diode has a bright yellow color, make sure that your push-button electrical device has a voltage of 16-24 V AC. If your push-button electrical device does not have the appropriate voltage level, you need to turn on the spark transmission mode in the Arlo power supply.
Arlo Doorbell InstallationIII. If the semiconductor diode is turned off, the button can be loaded. Wait as long as possible before troubleshooting. If the semiconductor diode does not turn on once a minute, the button does not receive energy. turn off the power to the switch and check the wiring again.
IV. If the semiconductor diode alternates yellow and white, the operating temperature or voltage is simply too low. Wait for a maximum of 13 minutes for the button to heat up.
Step 7: Use the Arlo app to connect the Arlo video button to your 4 GHz Wi-Fi network.
By following the steps described above, you will be able to complete the process of Arlo Doorbell Installation quickly and easily.
Related Articles:
